Post-processing is a vital stage in 3D printing that can significantly affect the ultimate quality and appearance of printed objects. However, several enthusiasts tend to commit common blunders during post-processing that can adversely impact their results. This blog post aims to examine the most frequent mistakes made in 3D printing post-processing while giving practical advice on how to avoid them. By grasping these errors and abiding by the best standards, you can attain outstanding outcomes in your 3D printed undertakings.
- Not Removing Support Structures Properly:Improper removal of support structures can leave behind unwanted marks or damage the printed object. Use appropriate tools such as needle-nose pliers or flush cutters to carefully remove supports, ensuring minimal impact on the object’s surface. Take your time to remove supports accurately, paying attention to delicate or intricate areas.
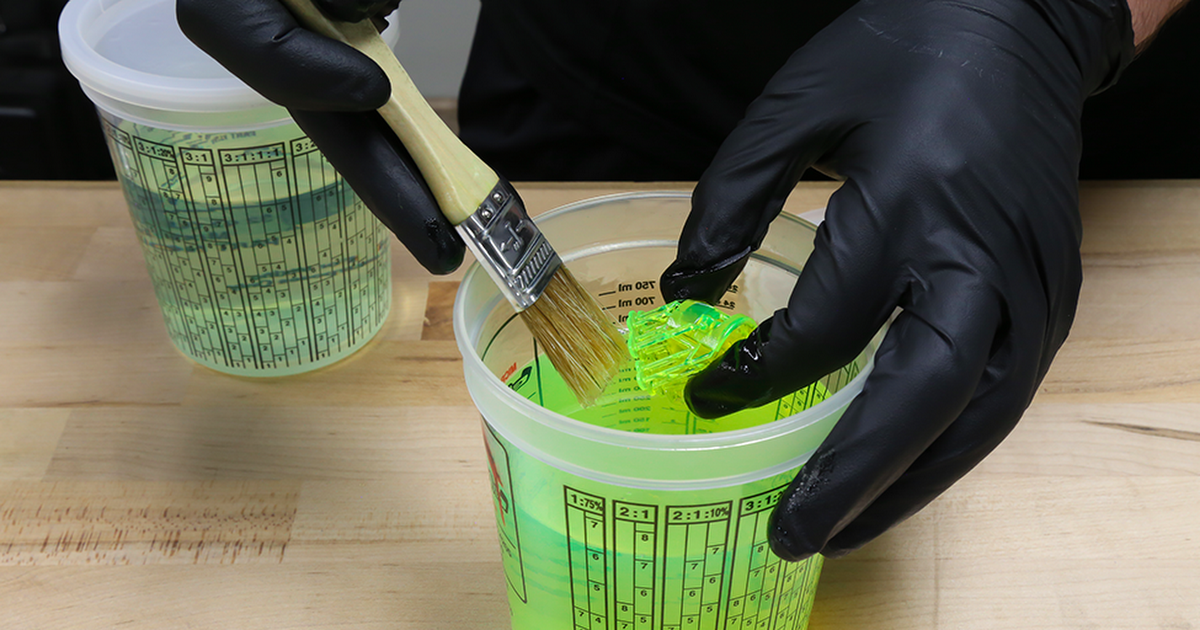
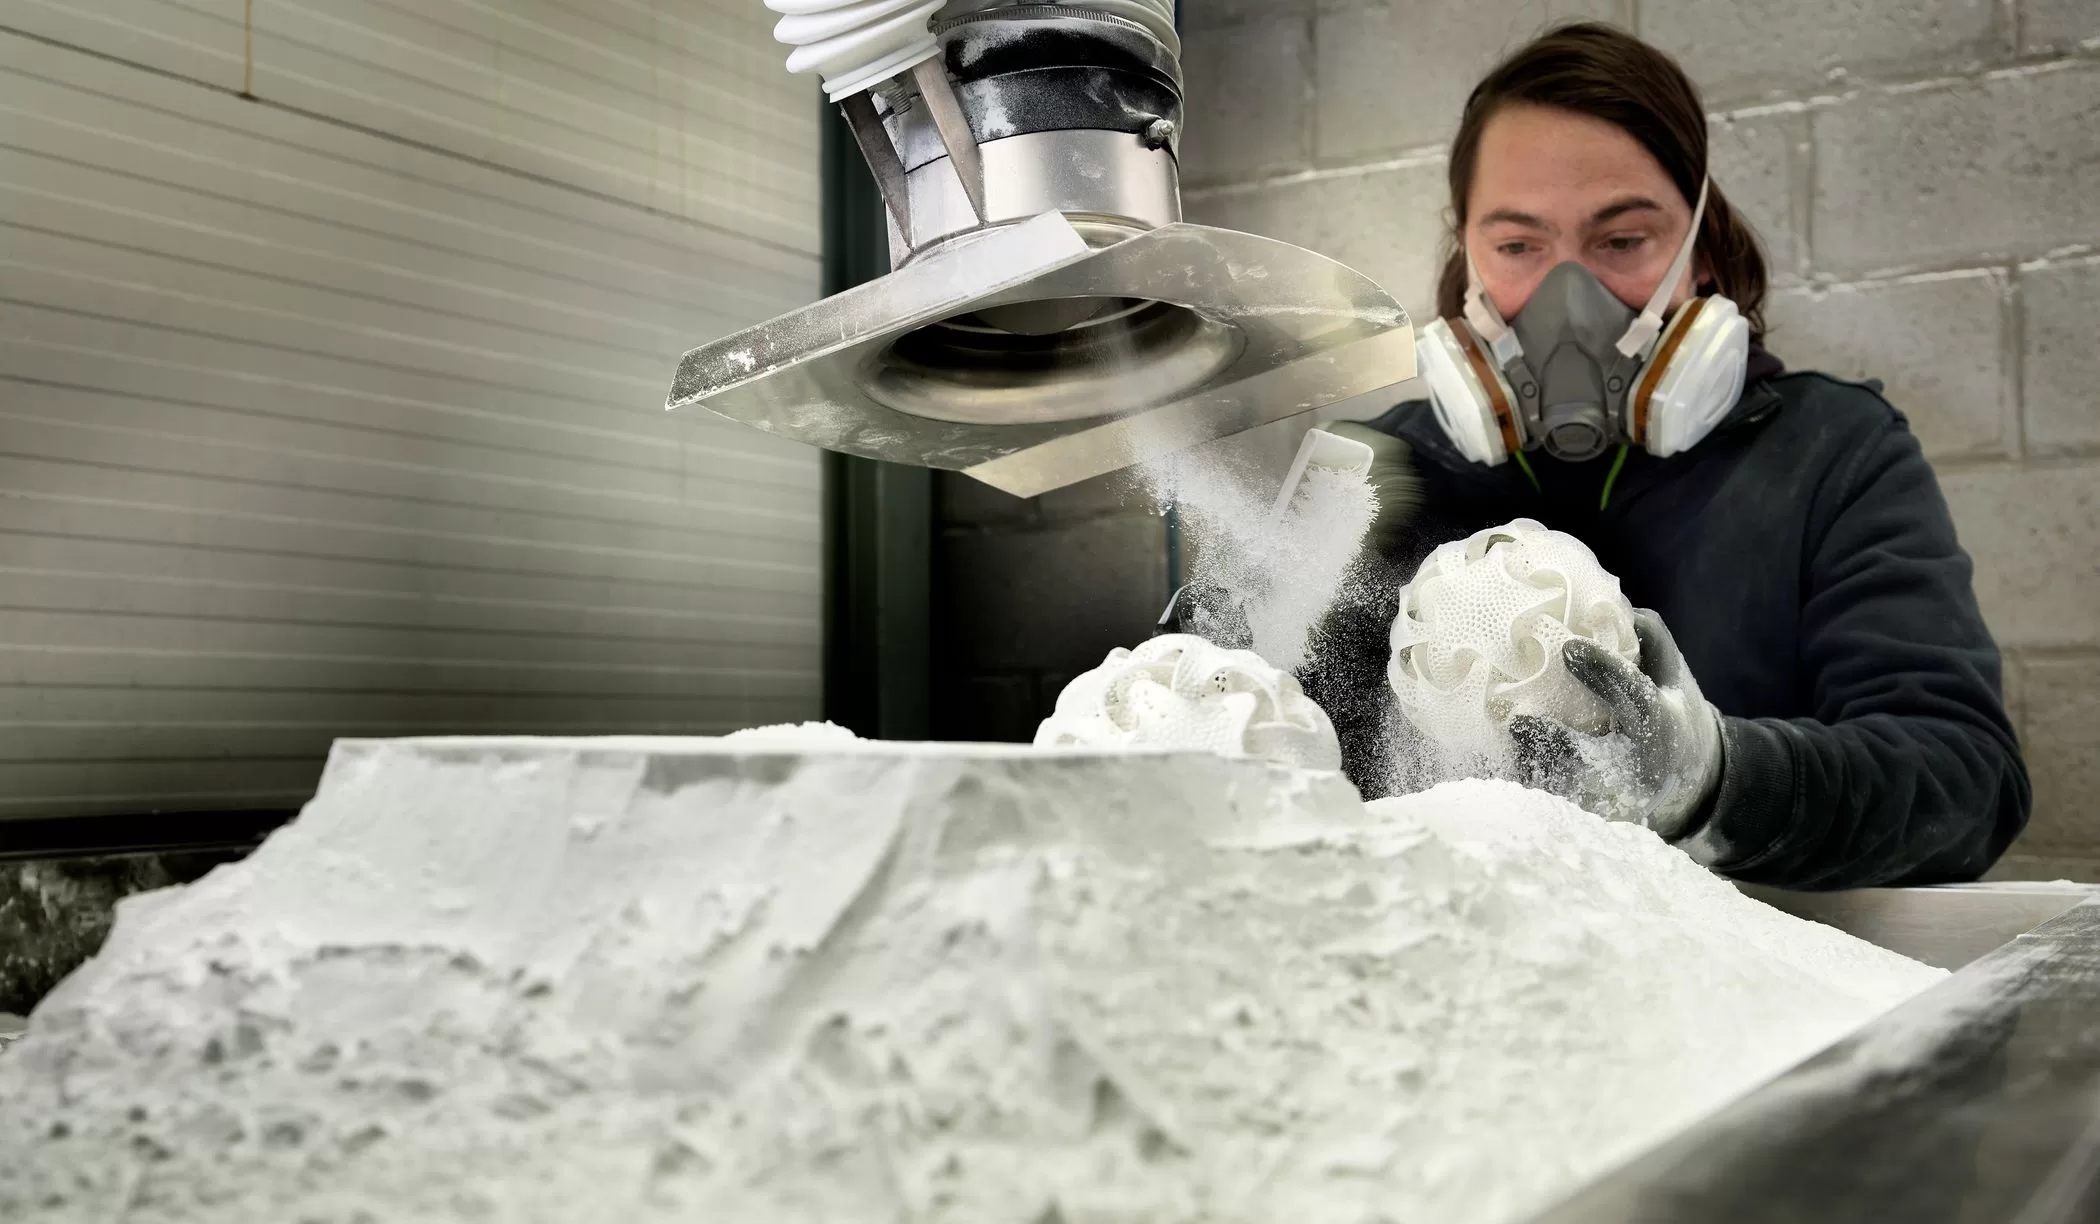
- Not Cleaning Prints Thoroughly: Thorough cleaning is essential to achieve a smooth and flawless finish. Neglecting this step can result in visible debris, such as residual powder or uncured resin. Follow the manufacturer’s guidelines to clean your prints effectively. Use tools like brushes, compressed air, or specialized cleaning solutions to remove any residue. Pay particular attention to intricate details and hard-to-reach areas.
- Insufficient Sanding and Smoothing Leads to Visible Layer Lines: Sanding and smoothing are vital for achieving a polished surface and removing layer lines. Skipping or rushing through this step can lead to uneven surfaces or visible imperfections. Start with coarse sandpaper and gradually move to finer grits for a smooth finish. Utilize sanding blocks or abrasive pastes to ensure consistent results. Take your time, and pay attention to detail for a professional-looking surface.
- Skipping Post-Curing Weakens Resin Prints: Post-curing is a crucial step for resin-based 3D prints to achieve optimal strength and stability. Neglecting or improperly executing this step can result in weak or brittle prints. Follow the manufacturer’s instructions for post-curing, which typically involves exposing the prints to UV light for a specified duration. This ensures thorough curing and enhances the mechanical properties of the printed objects.
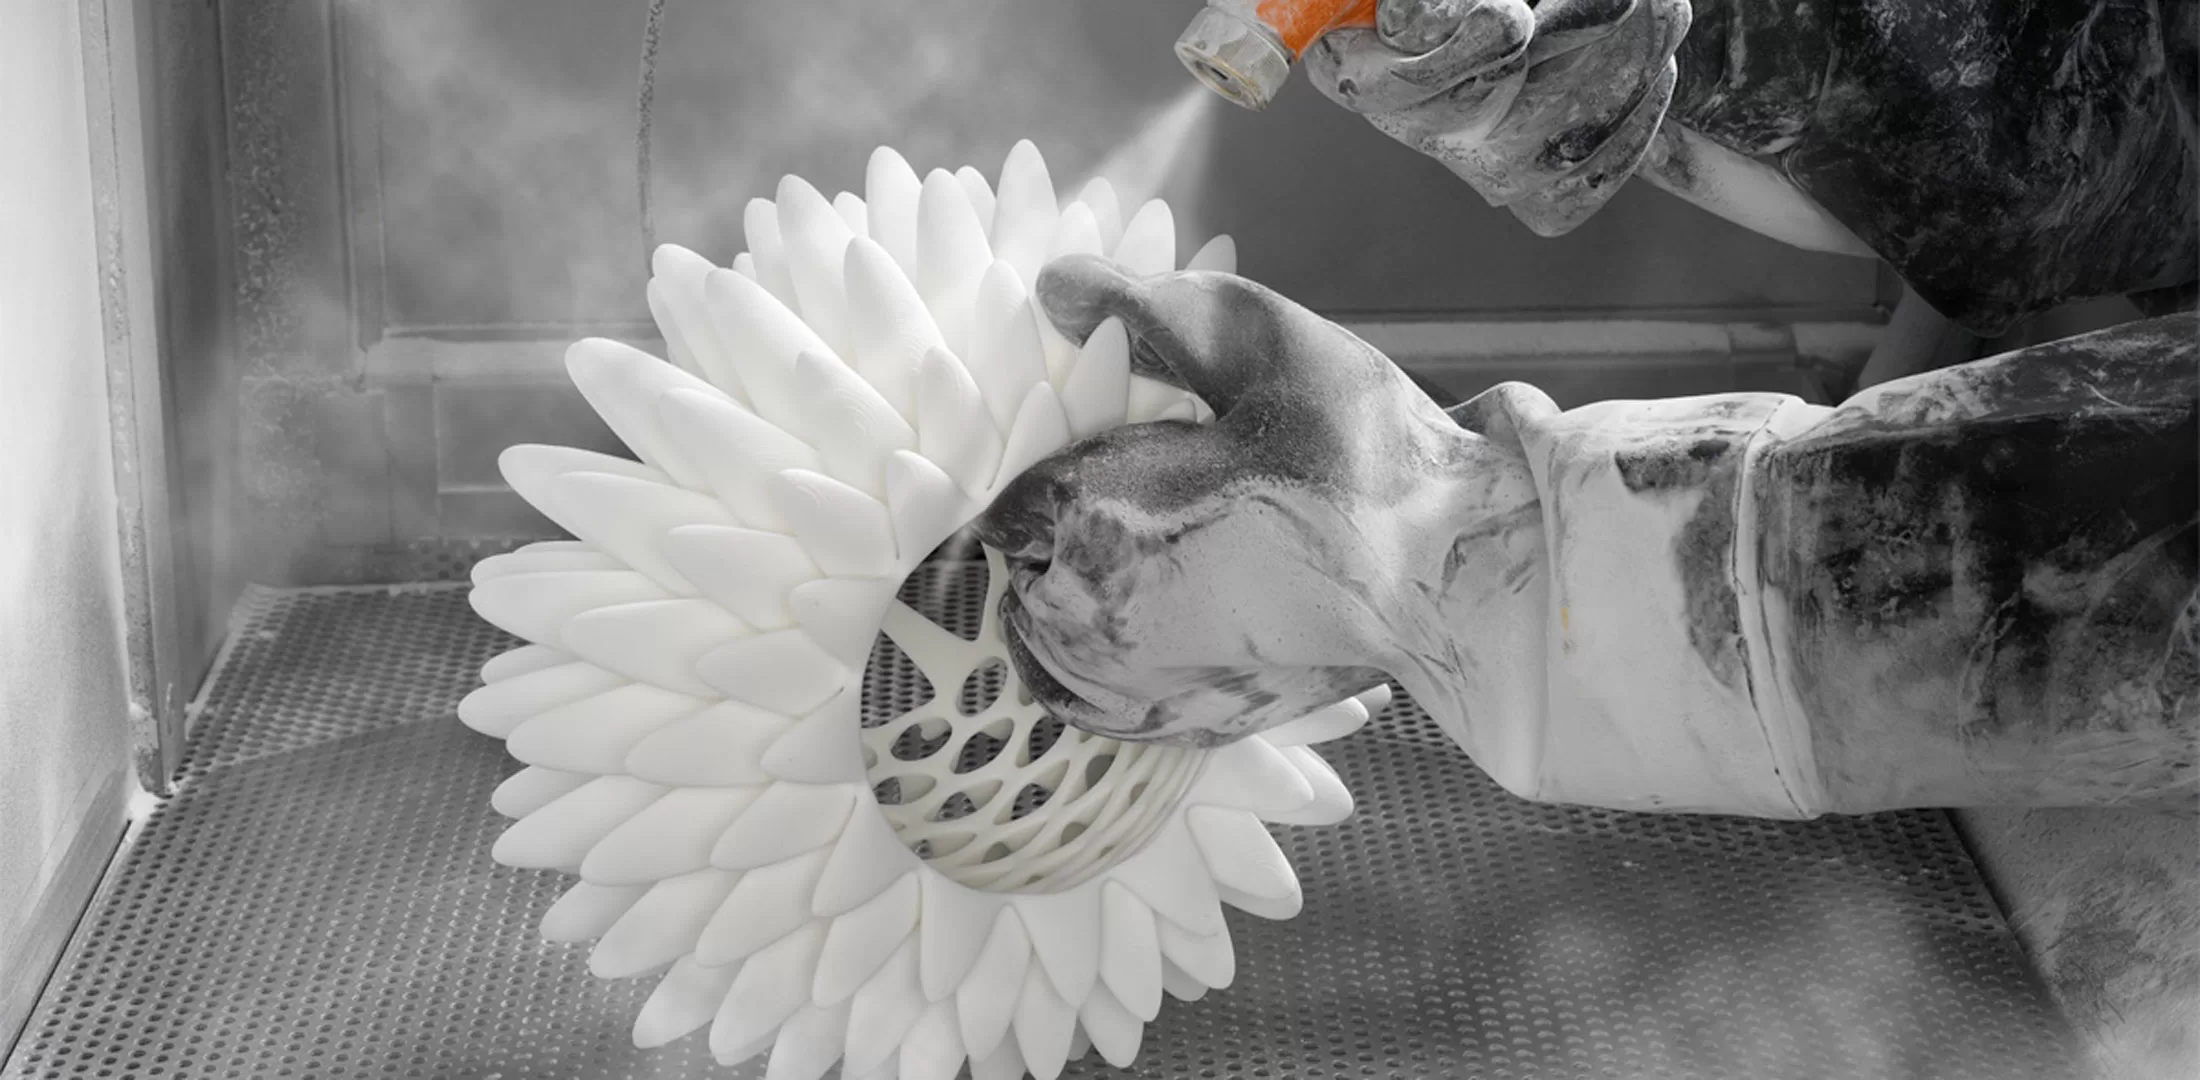
- Overlooking Surface Finishing: Surface finishing techniques can significantly enhance the appearance and durability of your 3D printed objects. Many enthusiasts overlook options such as vapor smoothing, painting, or applying protective coatings. Explore different finishing techniques based on your material and desired outcome. Experiment with methods like acetone vapor baths, epoxy coatings, or sanding sealants to achieve a professional and refined look.
Conclusion
It is imperative to avoid common errors in post-processing 3D printing to attain favourable outcomes. By using adequate methods for removing supports, ensuring comprehensive cleaning, dedicating adequate time for sanding and smoothing, undergoing post-curing for resin prints, and exploring surface finishing techniques, you can amplify the standard and refinement of your 3D printed items. Don’t underestimate the significance of post-processing and adopt these best practices to attain outstanding outcomes in your 3D printing endeavours.